A Comprehensive Guide to Installing a Rotary Drum Filter
The installation of a rotary drum filter is a crucial step in ensuring the efficient and effective operation of this filtration system. Whether it is being used in industrial, agricultural, or municipal applications, proper installation is key to maximizing its performance. In this article, we will explore the step-by-step process of installing a rotary drum filter, along with essential considerations and best practices.
Step 1: Site Preparation
Before installing the rotary drum filter, it is vital to prepare the site where the filtration system will be located. This involves ensuring a level and stable foundation to support the equipment. The site should also allow for easy access for maintenance and cleaning purposes.
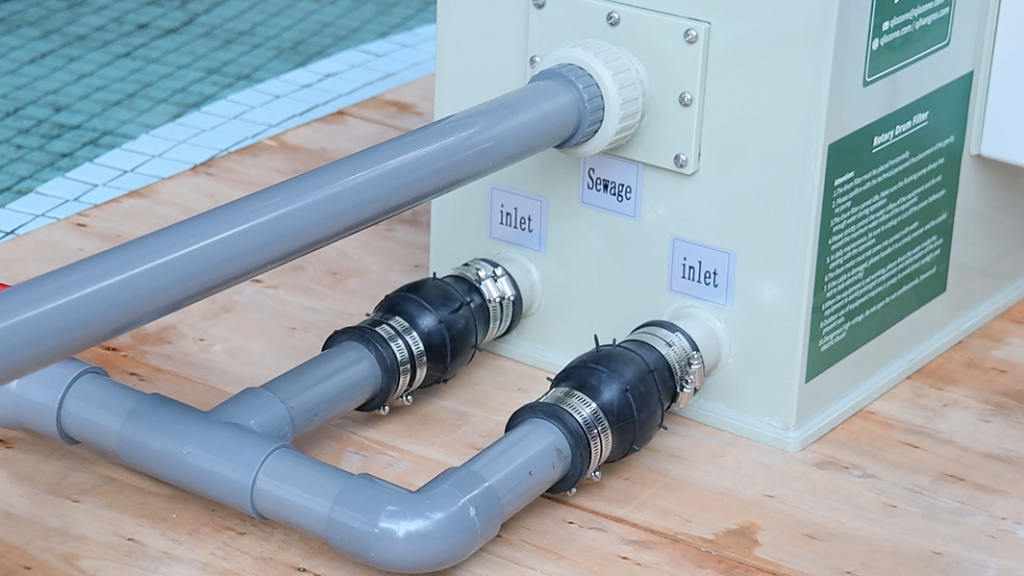
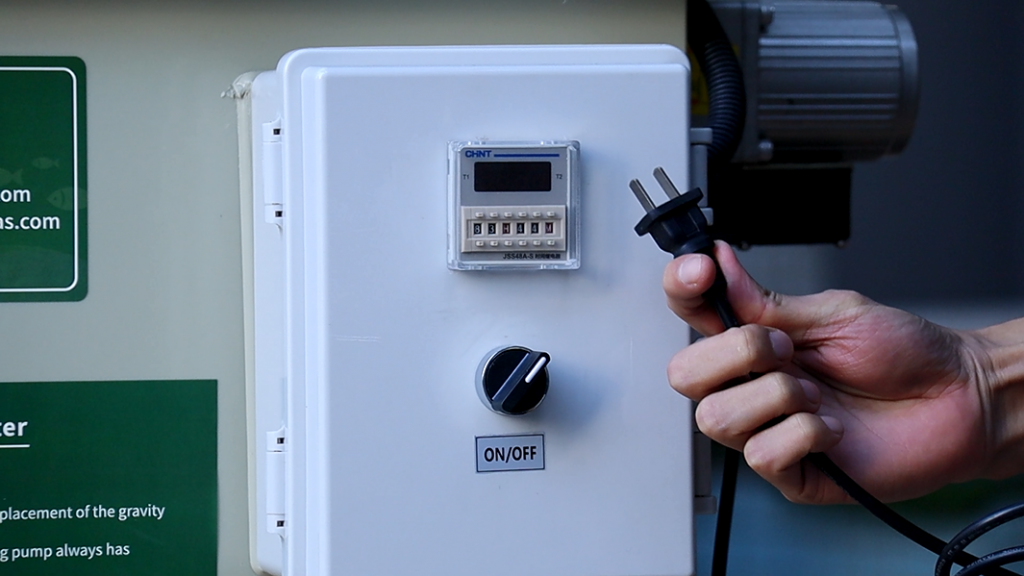
Step 2: Connection to Piping and Power
The next step involves assembling the various components of the rotary drum filter. This includes the drum itself, drive system, support structure, and any additional accessories or features specific to the particular model being installed. It is crucial to follow the manufacturer’s guidelines and specifications during this assembly process to ensure proper functionality and safety.
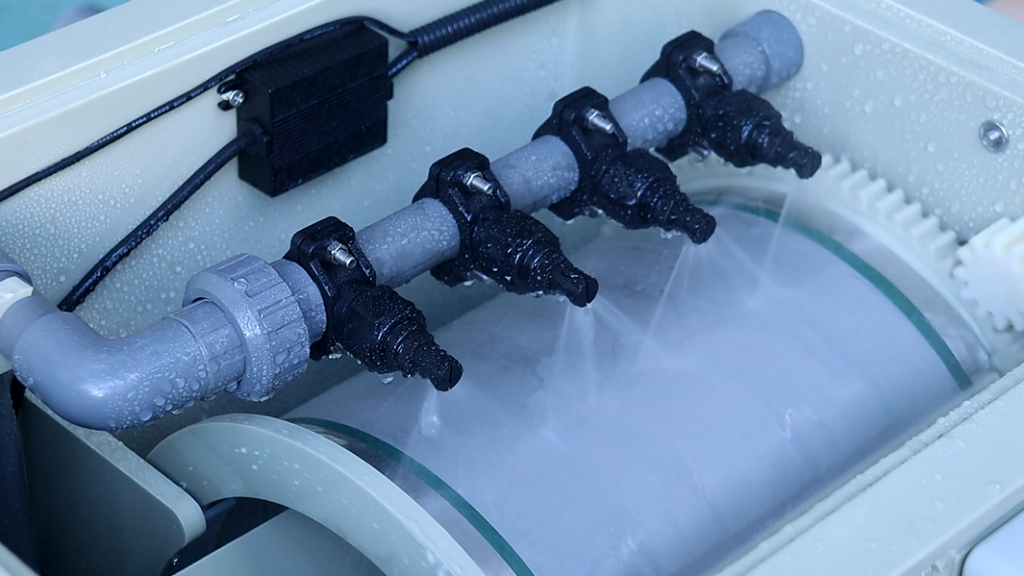
Step 3: Testing and Calibration
After the physical installation and connection of the rotary drum filter, it is essential to conduct thorough testing and calibration. This involves running the system with water or the intended liquid to ensure that it is functioning as expected. Any adjustments or fine-tuning should be made at this stage to optimize its performance.